Note
Go to the end to download the full example code.
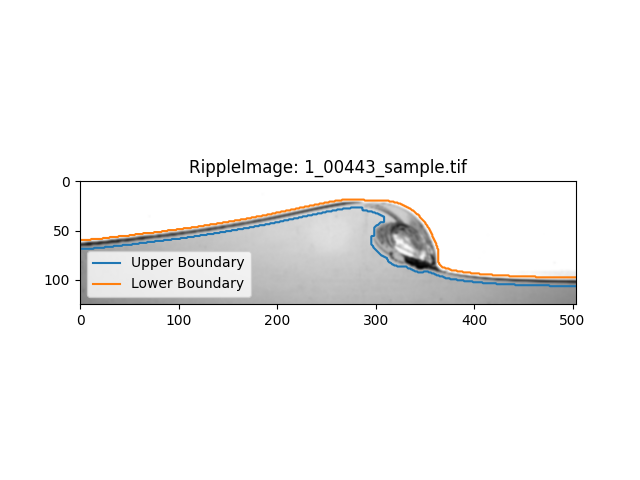
Adding “Boundary” Contours to an Image#
Ripplemapper has a variety of ways to define the water-air interface, the most simple of which is to use the boundary contours of the image. This example shows how to add boundary contours to an image.
What the boundary contour does is the image is first processed to find “edges” in the image, which are then processed to find the contours of the edges. There could be any number of contours but in general, the longest 2 contours will define the “upper” and “lower” boundary. These boundaries are defined as being the top and bottom of the “edge” region respectively.
We can load an image into a RippleImage object using the RippleImage class and then run add_boundary_contours to add boundary contours to the image.
import matplotlib.pyplot as plt

from ripplemapper.analyse import add_boundary_contours
from ripplemapper.classes import RippleImage
from ripplemapper.data.example import example_data

ripple_img = RippleImage(example_data[-1])
add_boundary_contours(ripple_img, sigma=2)
Plotting the image and its contours
ripple_img.plot(include_contours=True)
plt.show()
Total running time of the script: (0 minutes 0.072 seconds)